...I know this post is heavy on photos, but it's the only way to really tell the tale. Click on any photo to view the full-size 8 mega-pixel image.
I swear this is the exact same model and packaging as the light set I had on my bike when I was 13. I hope so, because that light set was very reliable. It's made by Tung Lin, out of Taiwan.
This is the head lamp mounted on the goose neck, but not yet wired up.
Here's the whole light set just out of the box before I installed it. This light set doesn't come with an instruction book, so you have to know a little bit or have someone show you how to install it. I knew electrical pretty well even at 13, and I'm very mechanical, so I installed it with no problems.
 |
| Note in the photo above that the terminals on the dynamo / generator are labeled T & H. That means Taillight and Headlight. |
 |
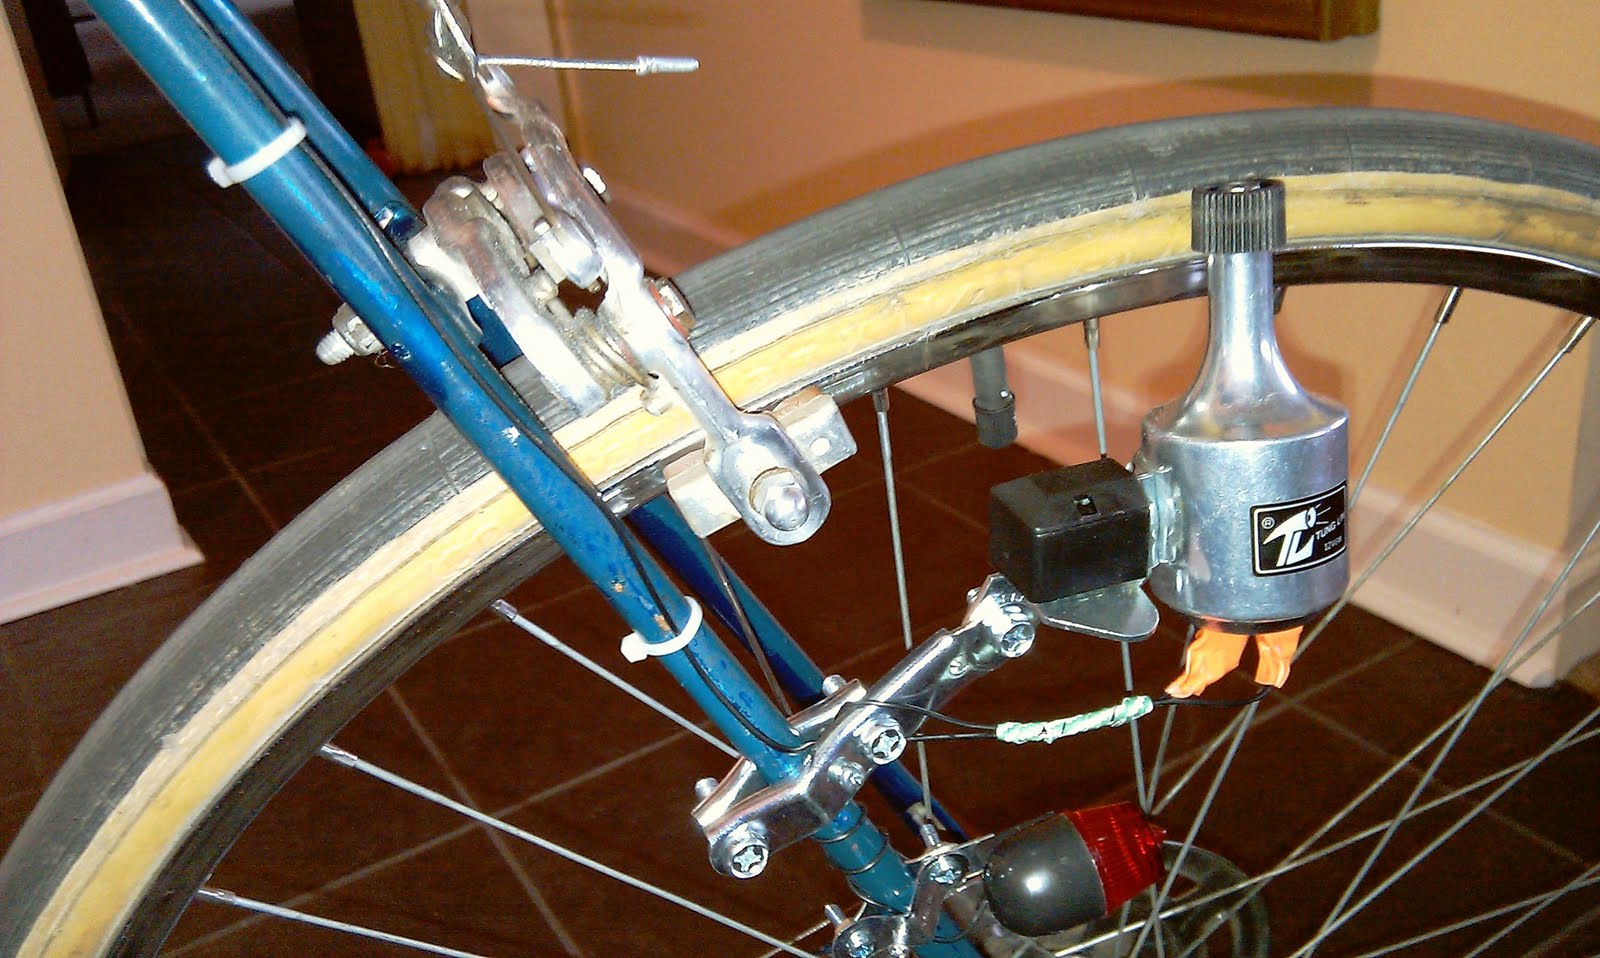
| The photo above shows how the dynamo and taillight mount to the bike. When mounting the dynamo, be careful to set it where it gets solid contact with the side of the tire rubber (NOT the wheel rim!) when the spring is tripped, but has good clearance when the spring is cocked. The small screws in the dynamo and taillight mounts are to push into the steel frame and close the circuit. The bike frame is the ground for this type of light set, which is why it can only be installed on a steel-frame bike. Other metals don't give a good enough ground circuit, and will cause problems like blowing out the bulbs and possibly even the dynamo. |
 |
| The view above of the headlight installed but before wiring. Note that there are two light bulbs in this model. The black fin on the top is the switch that controls which bulb(s) are on. |
 |
| The view above shows the dynamo in contact with the tire rubber. |
 |
| The view above shows the dynamo off the tire with the spring cocked. There's a small metal lever at the base of the black plastic square the you push down on to trip the spring and put the dynamo in contact with the tire. |
 |
| This is a view of the dynamo after I soldered the lamp wiring onto the dynamo terminals and taped up the contacts. I used a little bit of twist-tie (like you put on plastic trash bags) to keep the two wires restrained, so that there's no chance of them contacting the wheel. Be sure to tin your leads before trying to solder to the terminals, it helps immensely. I'll give a link to basic soldering techniques at the bottom of this post. I used a 60-watt soldering station and rosin-core lead solder to do this work. Use good quality electrical tape to protect the contacts afterward. The dynamo itself is weather-proof. |
 |
| A few plastic tie wraps help keep the lamp wires where they belong. Remember that this installation is temporary, as I'll be taking the bike apart for painting and full detailing after the 2011 biking season. |
 |
| Note that I had to solder and tape the lead on the headlamp as well. The taillight is pre-wired. Be certain to allow enough slack in the wiring between the top cross bar and the goose neck that the lamp wiring moves freely as you turn the front wheel in either direction. If the wiring is forced to stretch when you turn the wheel, it will eventually break. |
B |
| Photo one of the full bike with the lighting set completely installed. |
 |
The bike, completely lighted and road-ready. I tested the lights after this point, they work perfectly.
Note that the lights will get brighter the faster you ride, and go dark as you slow down and stop.
Ride on,
Dan
Wikipedia on soldering
Tinning leads - video |
|
|


Brief update - I've re-done the wiring terminal connections with spade connectors and heat shrink - the rear lamp is working fine, but I have some type of problem with the front lamp that I need to troubleshoot.
ReplyDeleteHow do you change batteries on the headlamp? I tried unscrewing the bolt on the side, but it didn't budge.
ReplyDelete1: There are no batteries, it runs on power from the dynamo. 2: Loosen the screw a little and push in on it while pulling the headlamp open. Tjere's a couple of metaltabs holding it shut, not the actual screw. When you push in on the loosened screw, it pushes the tabs in so that they disengage from the headlight facing.
Delete